Visualising Genomic Data with IGV in RONIN
The Integrative Genomics Viewer (IGV) is one of the most popular free, open source software packages for the visual exploration of genomic data. In this blog post we will show you how to install and configure IGV on your machine or cluster with RONIN LINK.

The Integrative Genomics Viewer (IGV) is one of the most popular free, open source software packages for visual exploration of genomic data. It is a fast, flexible, easy-to-use, interactive tool that supports all the common types of genomic data and metadata. Not only can it be used to pull and investigate public datasets from cloud sources, but users can also load and explore their own investigator-generated datasets locally.
IGV is available as a Java desktop application, a web application, or even a JavaScript component that can be embedded into your own web apps. Most users will often learn how to use IGV on their personal laptop or desktop; however, if you are working with large genomic datasets you may find that your personal computer just doesn't have enough storage space or compute resources to run IGV smoothly, or you may just get tired of transferring data back and forth from where you are actually running your genomic analyses - that's where RONIN comes in.
In RONIN you can launch a machine or cluster with the required amount of storage and computational resources to perform your genomic analyses. Then, when you are ready to visualize your results, you can use RONIN LINK's desktop feature to easily launch a virtual desktop on that machine, or even on the head node of your Auto Scaling Cluster, where you can install IGV and load your genomic datasets locally. Under the hood, RONIN LINK desktop uses NICE DCV, a high performance remote display protocol that is available on AWS EC2 instances. This means that there is no need to move your data anywhere to visualize it, and you can simply scale the size of your machine (or cluster head node) at any time to ensure IGV always has sufficient computational resources to visualize your datasets. Sounds awesome right?
In this blog post we will show you how to install a virtual desktop on your machine or cluster with RONIN LINK and then how to download, configure and run IGV based on the computational resources that are available.
1. Launch a machine or auto scaling cluster in RONIN with Ubuntu as the operating system. Ensure your machine or cluster has sufficient storage for your genomic datasets.
Note: You can also launch a machine with a Windows operating system to install and run IGV on a virtual Windows desktop, but the memory configuration commands later on will be slightly different (refer to the IGV readme file for more information).
2. Run your genomic analyses, or transfer any required genomic datasets to the machine.
3. Open your machine with our desktop application RONIN LINK
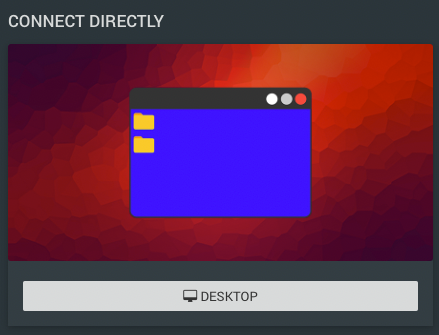
4. In RONIN LINK select "CONNECT TO MACHINE" and click the Desktop button and allow RONIN LINK to install and configure the desktop virtualization software for you.
5. Once the installation is complete, RONIN LINK should launch a virtual desktop in a new window
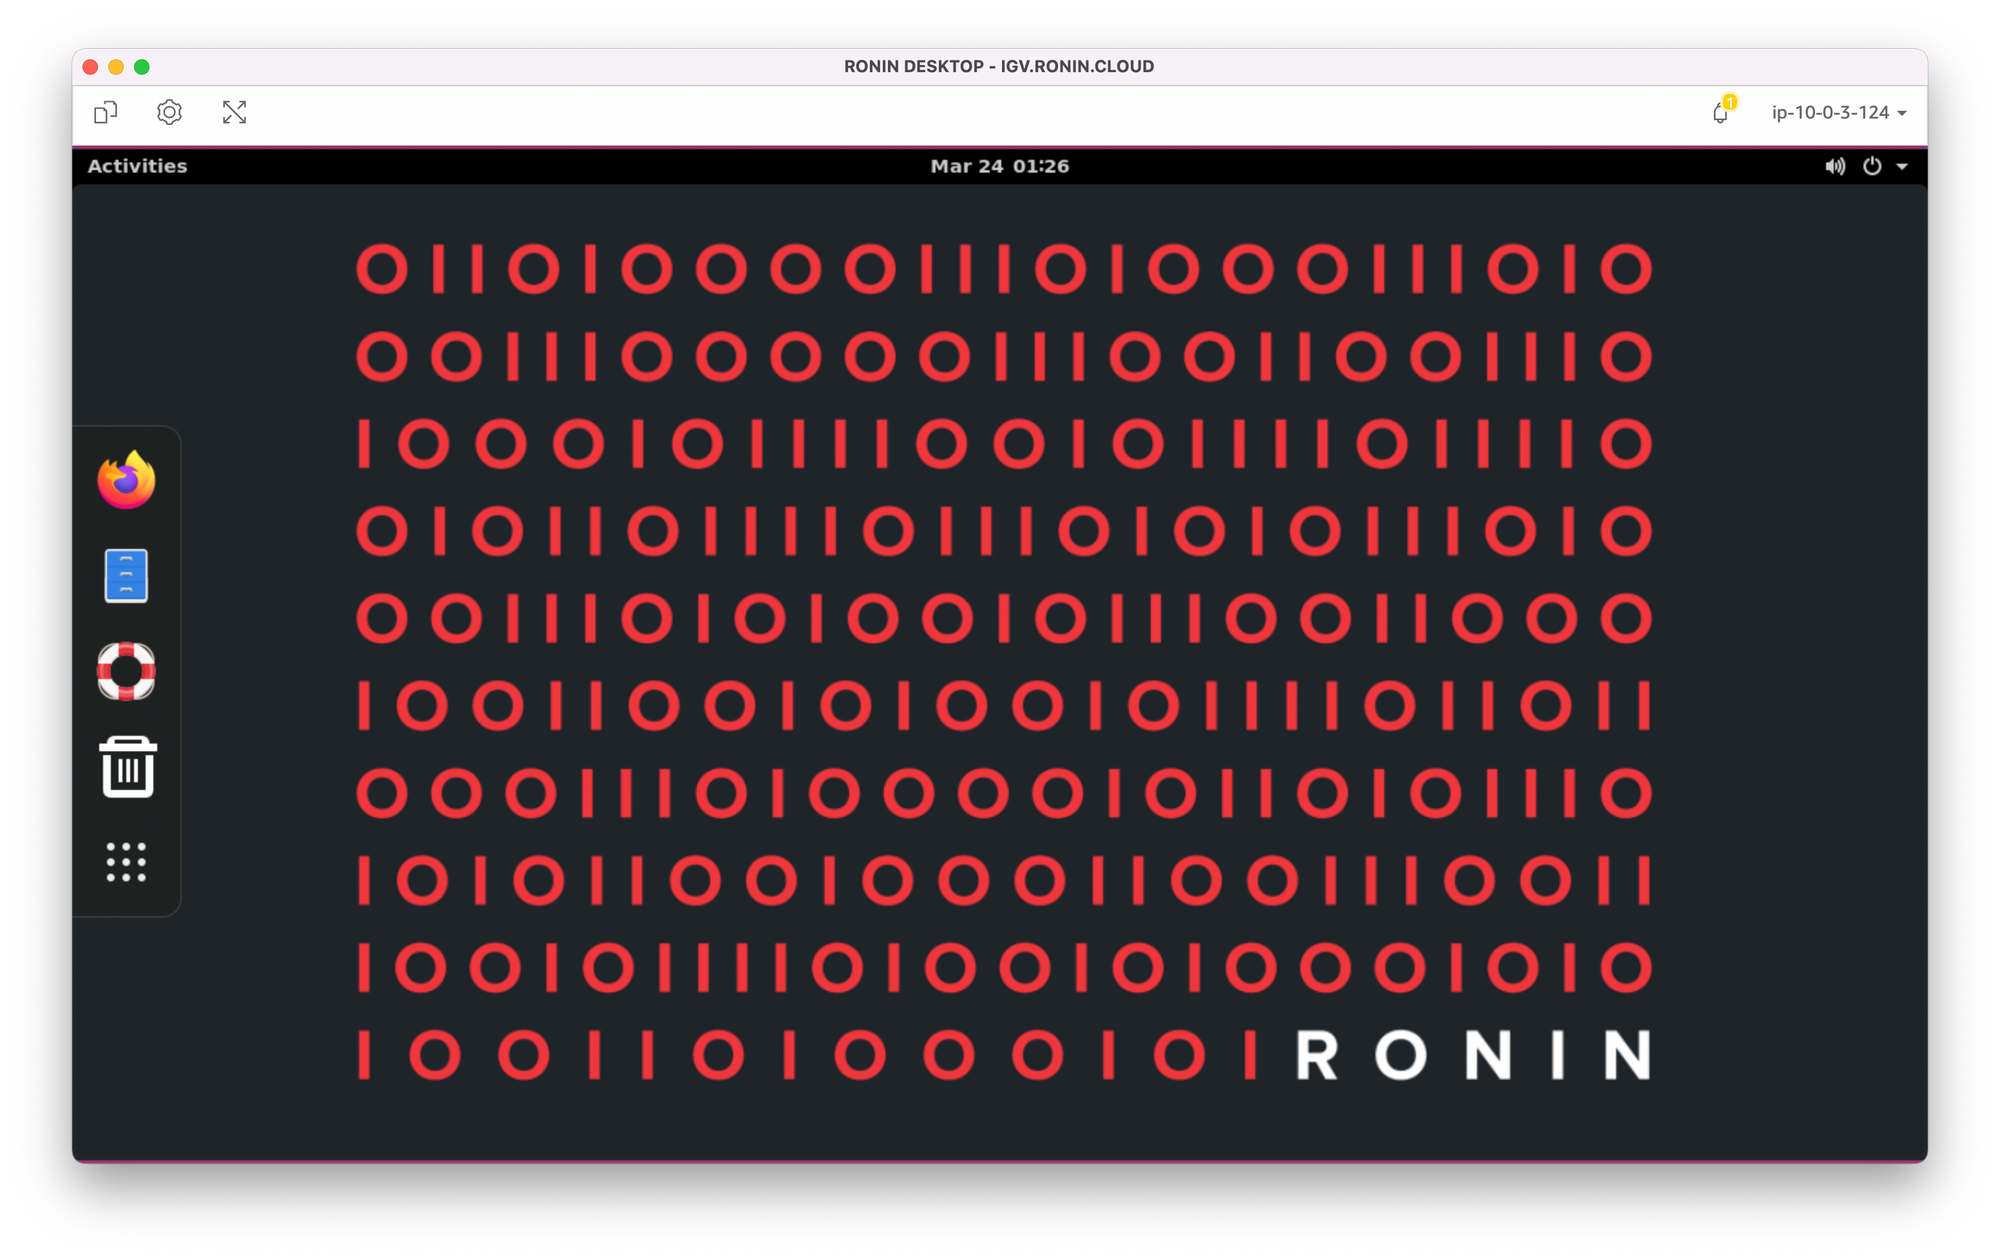
6. Open Firefox from the left menu bar and navigate to the following URL: https://software.broadinstitute.org/software/igv/download
7. Click to download IGV for Linux
8. When the download is complete open your files (blue filing cabinet icon in the left menu bar) and navigate to your Downloads
9. Double click on the IGV zip file then double click on the unzipped folder and drag the IGV_Linux_version folder to your Home folder
10. To start using IGV, open the Terminal on your machine by clicking the applications button in the left menu of your virtual desktop, then select Terminal (or the XTerm app) and run the following command replacing the version number with your installed version of IGV:
bash IGV_Linux_2.12.3/igv.sh11. By default, IGV is configured to run with 4GB of memory/RAM. If you are working with large datasets and you notice that IGV is slow to load, ensure your machine or head node of your cluster has more than 4GB of RAM available (you can find this information on the Machine Summary screen in RONIN - see screenshot below) and if not, stop your machine/cluster and change the size to something bigger using the pencil icon.
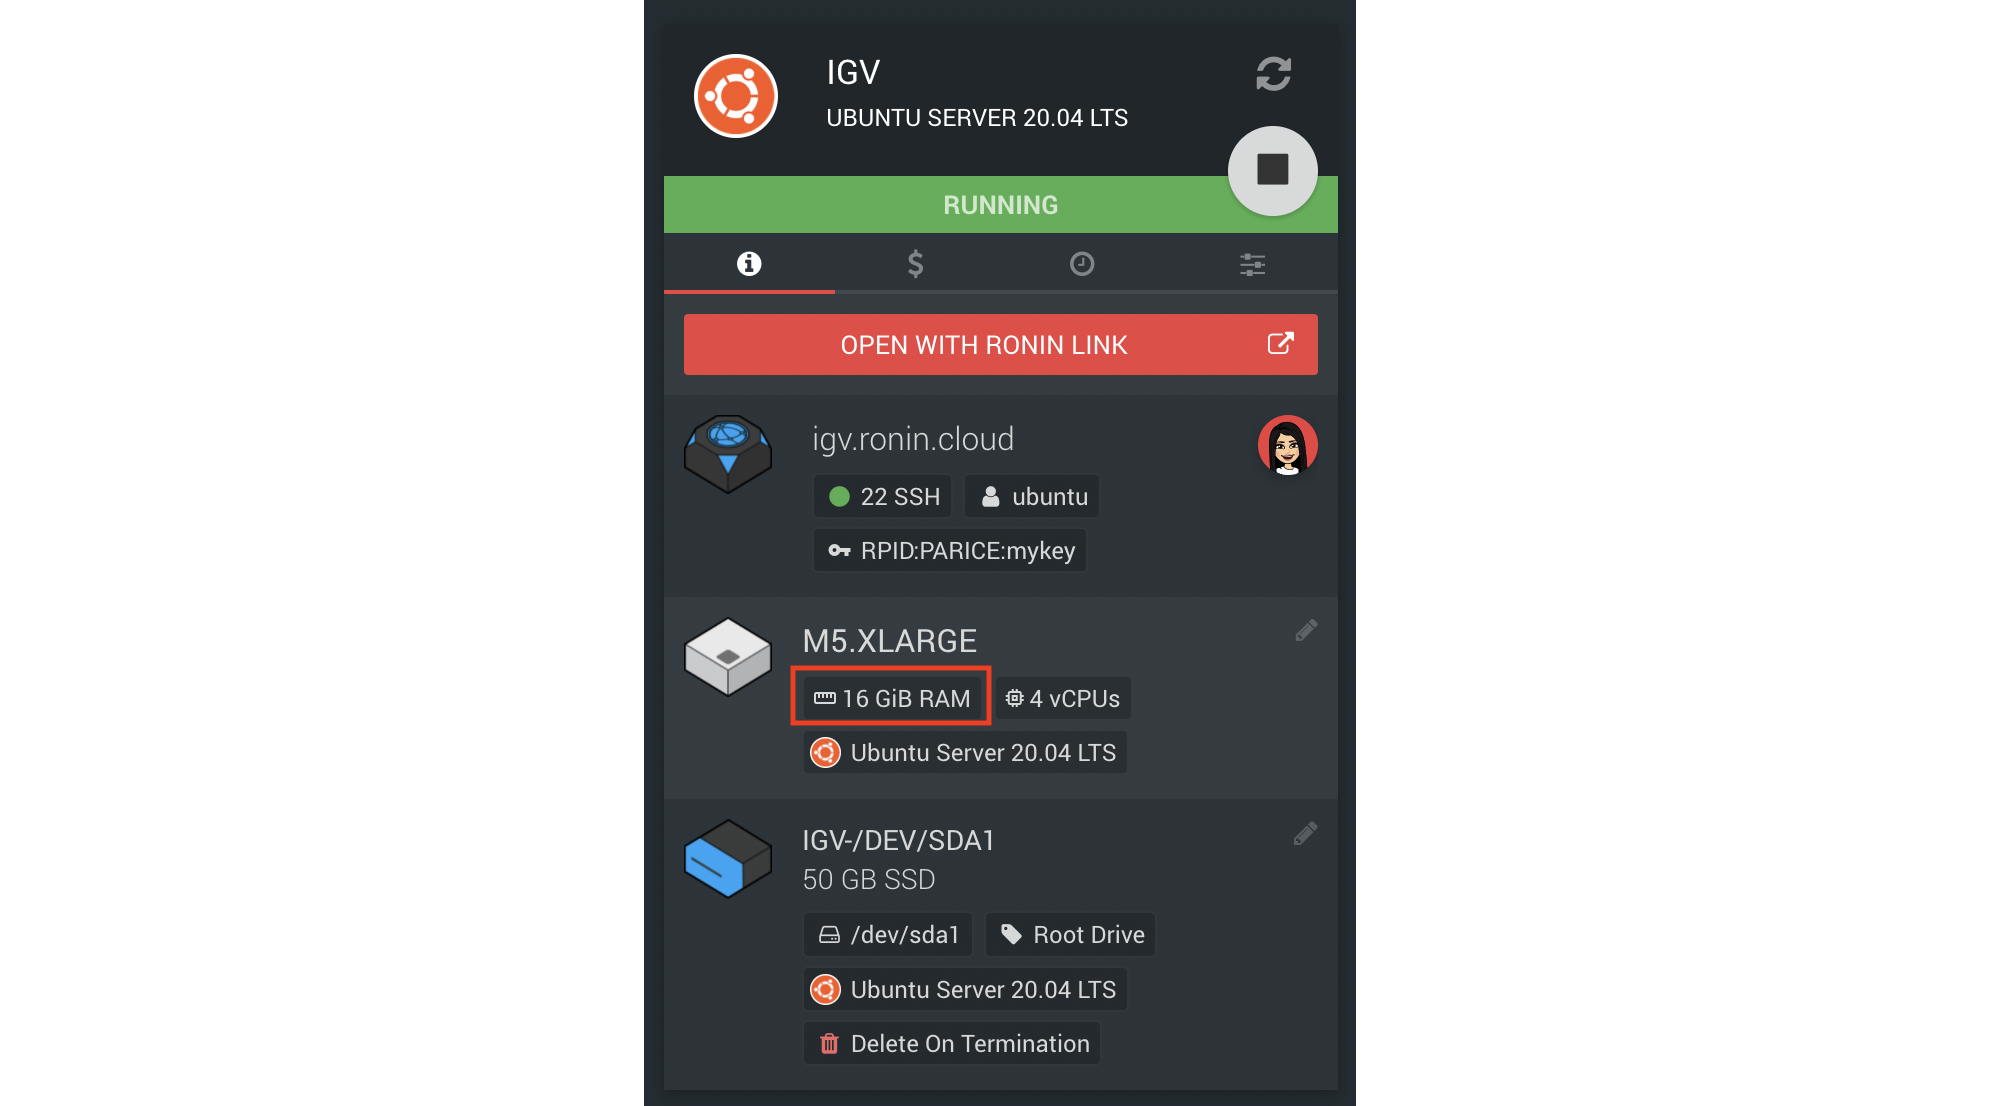
12. To tell IGV you want it to use more than the default 4GB of RAM, you need to specify the memory parameter in an IGV config file. For example, if your machine has 16GB of RAM like the above screenshot, we might want to allow IGV to use 12GB of RAM and reserve the remaining for the operating system. To create the required config file to specify this to IGV, open the Terminal on your machine and run the following command replacing 12 with the desired amount of RAM (in Gb):
mkdir -p $HOME/.igv/ && echo "-Xmx12g" > $HOME/.igv/java_arguments13. You will then need to close and reopen IGV for your changes to take place.
If you would like to monitor compute usage by IGV to determine whether you may be able to scale up or down your machine/cluster head node size, we recommend using the CPU Monitor and Netdata tools in RONIN LINK.
With RONIN, IGV's performance no longer needs to be limited by computational resources, so get to analyzing those big genomic datasets of yours!