Configuring and Managing Your own Autoscaling Cluster
Configuring and managing your own autoscaling cluster in the cloud does take a bit of getting used to. Luckily we're here to teach you the ropes and help you get your cluster set up just the way you like it!

If you've made it to this blog post, you've likely already read our machine vs autoscaling cluster blog post and decided that an autoscaling cluster is right for you. You may have also already created your own autoscaling cluster following the steps in this blog post and are now thinking "So, now what?...".
Launching your own autoscaling cluster puts a whole lot of computing power right at your fingertips, but as the saying goes: "With great power comes great responsibility". We know the idea of managing hundreds of machines (or nodes) at any one time in a single cluster can be a bit daunting, and there's nothing worse than launching a whole bunch of nodes only for your job to error halfway through because of a software issue or resource limitation. This is why we recommend the following 5 step process when first getting started with autoscaling clusters in the cloud:
1. Create a test autoscaling cluster
One of the biggest benefits of cloud is that you can adjust your resources as required, so the cluster you first start with doesn't have to be the one you stick with. When you first create a cluster you may not know exactly what node size is best suited to your analysis, or how much storage space you may need. Fortunately, this can all be changed later on if needed, so don't worry too much about the details of your first cluster. Try to specify enough resources (i.e. app/software storage space, shared/data storage space, compute node size) for at least a test run of your analysis, whether that be using a test dataset, a single sample or a subset of your data.
In RONIN, the head node machine size of your cluster can easily be altered at any time. The head node is where you will install your software, upload your datasets and submit your jobs. It's also a great place to test your analyses before submitting them to the compute nodes. Because the head node is always running, you can make it quite small (e.g. a t3.small machine) the majority of the time when you are installing software or submitting jobs to the scheduler, but we recommend changing the machine type to something larger while you are transferring large datasets to/from object storage (to speed up the transfer), or testing your analysis (to determine how many CPUs or RAM might be needed).
2. Install your software
There are a variety of different ways to install software on your autoscaling cluster. We will summarise each of these below in order of the most highly recommended methods to the least recommended (but sometimes still appropriate) methods.
Using the spack package manager
Spack is a package manager for clusters that gives you access to thousands of common software packages that can be installed and configured with a single command. The importance of Spack is that it can automatically compile and optimize your application and all of its dependencies specifically for the cluster you have just created. That’s a lot of work. Spack is installed by default on all RONIN autoscaling clusters, so you can get started installing your software right away.
To see a list of all of the software packages available via Spack run:
spack listTo install the latest version of a particular package (e.g. bowtie2) you can run:
spack install bowtie2The spack info command can provide you with more information about a package, such as different versions that are available:
spack info bowtie2You can install a particular version of a package using the @ flag:
spack install bowtie2@2.3.0Note: Multiple versions of a software package can be installed on the same cluster. You can then call upon particular versions using the load command (see below).To list all of your installed packages, simply run:
spack findWhen you want to use your software, all you need to do is load the package as follows:
spack load bowtie2To find where a package is installed (handy if you need to adjust a config file or look for a particular associated script):
spack find --paths bowtie2You can even bundle multiple packages into an environment that can be loaded all at once - click here for more information.
Using the Conda package manager
The Conda package manager is very similar to Spack and Conda uses very similar commands. The main difference is that Conda requires a little extra configuration to get it working properly in a cluster environment so that all of the nodes can access the Conda packages and environments. Namely:
- Conda should be installed in either the
/appsor/shareddirectories rather than the default location in the home directory, so the compute nodes can access it immediately. - The path to the Conda bin directory should be added to the top of all of your scripts so that the compute nodes know where to look for the software executables e.g.
export PATH=/apps/miniconda3/bin:$PATH - If you want to use a Conda environment, you will need to launch the base Conda environment in your script AFTER you have added Conda to your path but BEFORE you activate the environment e.g.:
export PATH=/apps/miniconda3/bin:$PATH
eval "$(conda shell.bash hook)"
conda activate myenvironment
We already have an introductory tutorial for Conda that discusses some of these extra configurations, so please refer to the tutorial for more information on how to install and manage your software using Conda.
Manually installing software
If your software isn't available via Spack or Conda, you may need to install your software manually. This process can take several different forms depending upon how the software is distributed but the two most common examples include:
- Downloading binaries - This method is quite simple as the binaries do not require any compilation or configuration. Just download the binaries from the web, unpack the folder if necessary, and make sure the binaries are placed in either the
/sharedor/appsdirectory. You can then add the path to the binaries to your script so your compute node knows where to look for them. - Compiling from source - This method involves a number of common steps to compile your software ready for use. Typically you will need to either download the zip or tarball file of the software and extract the contents, or clone the Git repository of the required software. You will then need to entire the source folder and run a variety of commands to: 1) configure the software (e.g. using the
configurecommand), 2) build the software (e.g. using themakecommand), and 3) install the software (e.g. using themake installcommand). The most important thing to note when compiling from source on a cluster is to ensure your software is installed in either the/sharedor/appsdirectory (rather than one of the standard software directories) so that your compute nodes can find it. Usually there is a configuration flag, or a variable that can be set to allow you to specify an installation directory. Refer to the software installation instructions or contact the software authors for more information on specifying custom installation directories.
Using default package managers such as apt or yum
In some cases your desired software may just be simpler to install via default package managers such as apt for Debian distributions or yum for Red Hat distributions. The main hurdle with installing software via this method is that your software will be installed in the default directories on the head node, which your compute nodes won't be able to access immediately. So, to get around this issue there are two options:
- If the software is quite quick to install via this method, you can add the
aptoryuminstallation commands to your job script so that the software will be installed on each of your compute nodes before your analysis is run. Just make sure you run them assudoin your script and include the-yflag to prevent the need for user confirmation to install the software e.g.sudo apt install -y wgetorsudo yum -y install wget. - If there is lots of software to install and it will take too long to install it on each compute node, you can instead package your cluster and then relaunch a new cluster from the package. This will ensure all compute nodes are an exact replica of your head node - for more information see this blog post.
Using Singularity to deploy containers
If you are familiar with containers, Singularity is a cluster friendly container system and can also work with Docker containers. The main reason we have left this method until last is due to the fact that containers can be quite tricky to work with, and hence, aren't really beginner friendly. If, however, you are comfortable with containers and would like to know how to use Singularity to deploy containers in a cluster environment, we recommend checking out some of the great tutorials that already exist online such as this tutorial by Harvard, or this tutorial by the San Diego Supercomputing Center.
3. Test your workflow
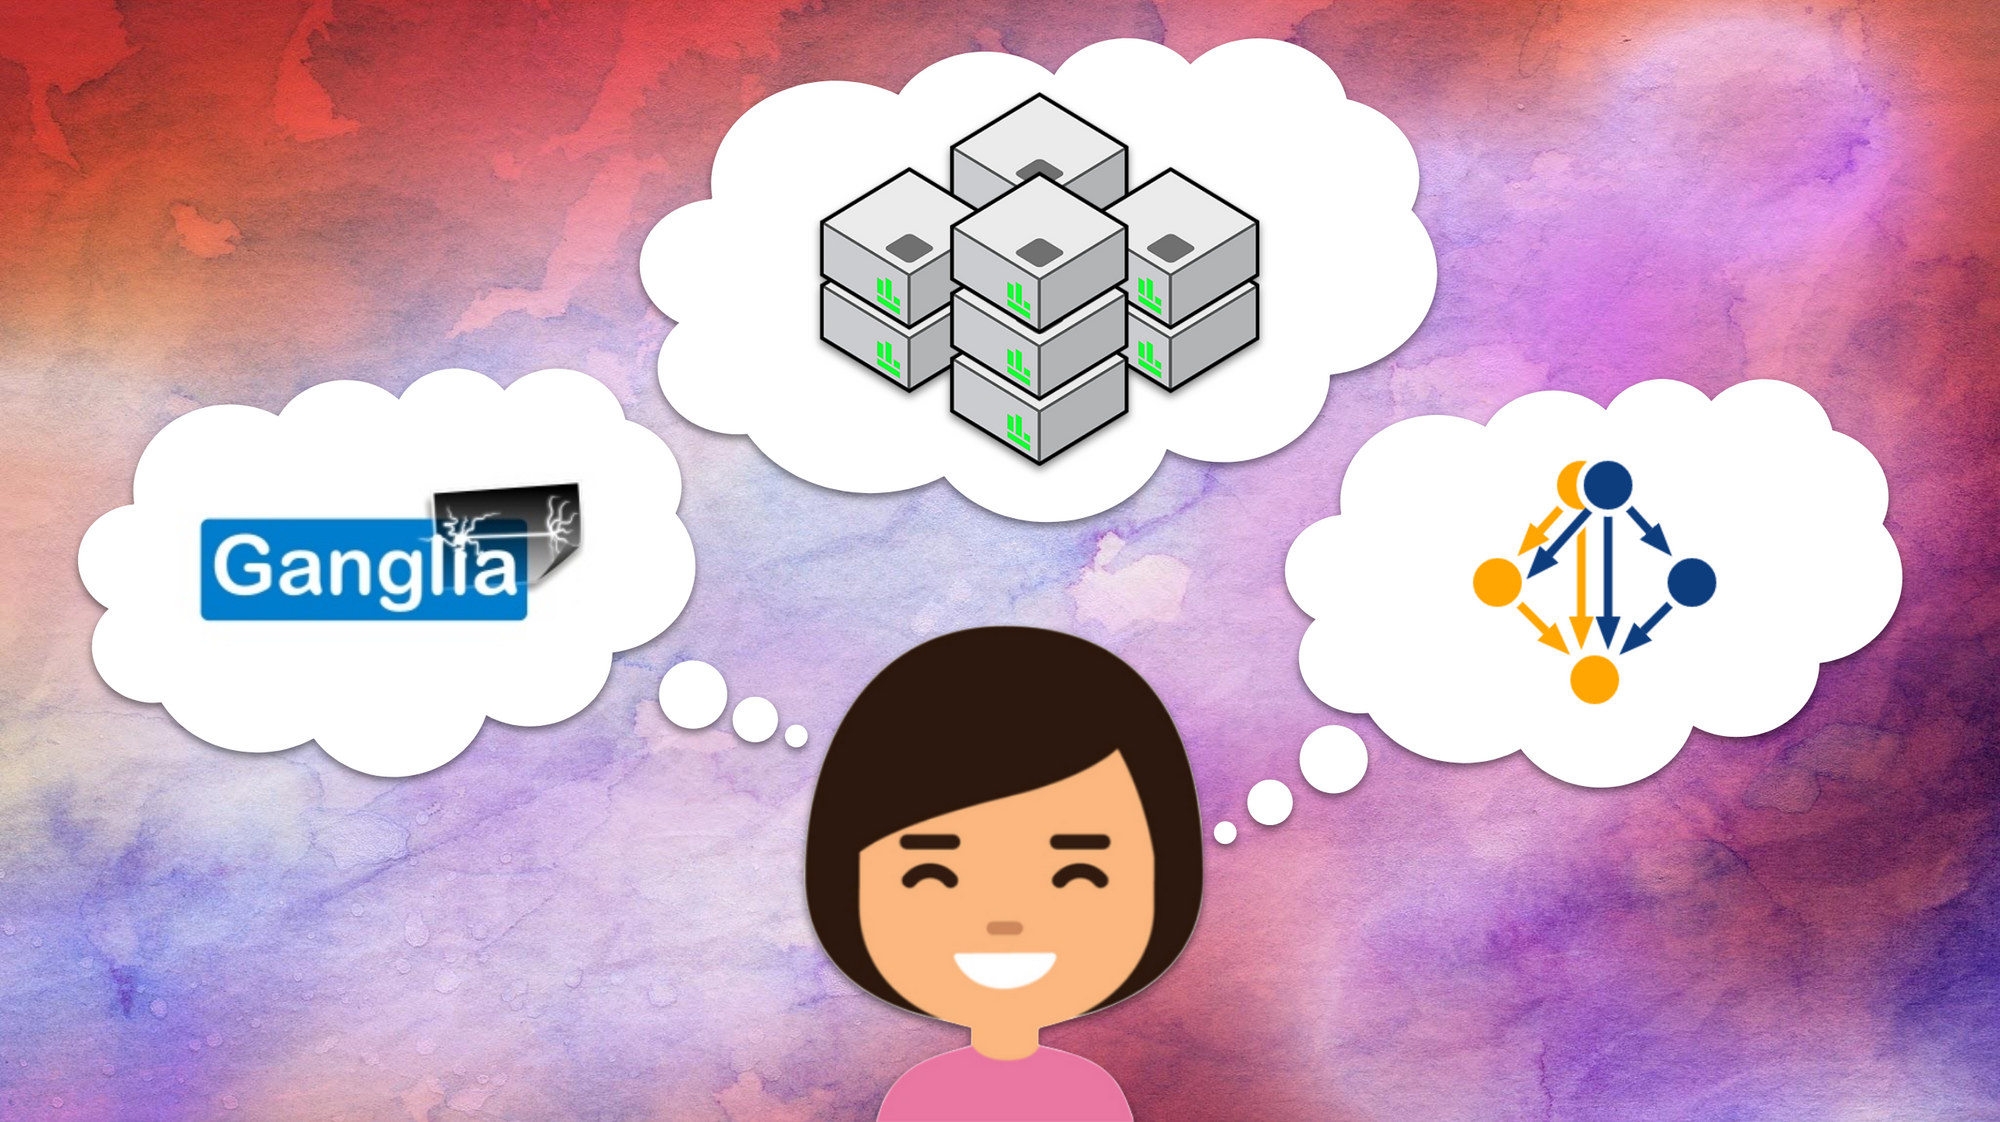
Once your software is installed and you have downloaded some test data onto your cluster, you should then test that your software is working as expected. It is often a good idea to first test your software on the head node by running the commands directly via the terminal rather than a scheduler script. This will allow you to quickly troubleshoot any initial errors such as software installation or configuration problems, syntax issues, or incorrect paths. We recommend changing the size of the head node to the same machine type as your compute nodes so that you can also identify any potential resource limitations. An added benefit of testing your workflow on your head node first, is that you can perform some detailed resource monitoring using applications such as Netdata. This will allow you to track RAM, vCPU, walltime and storage usage across your entire workflow to determine whether your compute nodes and storage drives are the optimal size for your complete analysis run. Once your analysis is working as expected on your head node, you can then proceed to testing the workflow on your compute nodes by submitting a test job to the scheduler. You can monitor your compute nodes using the Ganglia monitoring system that is installed on every autoscaling cluster in RONIN.
4. Package your cluster
After you have tested your workflow and are happy with your software environment, we then recommend packaging your cluster in RONIN. This will allow you to save your current environment so that you can easily deploy a new cluster with the same software configuration again, but with the added ability to choose a new compute node size and alter your storage drive sizes if needed. Packaging your cluster also has the effect of making software you installed into the root file system (in contrast to /apps or /shared) using package managers or other methods available to the compute nodes. Finally, packaging your cluster and data gives you a way to save your analysis and reproduce it later with new data or software.
5. Run your analysis
When you have tested, monitored and optimized your workflow, and are satisfied with your final cluster configuration (including the size of the compute nodes and storage drives), you are now ready to download your complete data set onto the machine and run your full analysis.
If you've reached this point, it's time to give yourself a self-five for creating and managing your very own supercomputer!
